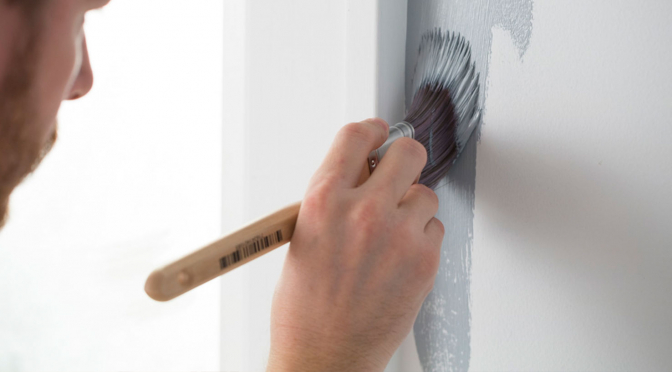
Timely reminders to maximize your productivity and accuracy when cutting-in.
The perfectly straight line of paint — it’s among the reasons your services as a painting contractor are highly valued, and often provides your customers a visual reminder that you are worth what you’re getting paid.
And while your expertise in cutting-in is likely well-developed, here are some tips and reminders to ensure that your results will continue to meet and exceed customer expectations. As with many painting tasks, success begins with selecting the right tool.
It starts with the brush. The folks at Purdy have been perfecting the craft of brush making since 1925, so it’s no surprise that they offer a line of brushes made for ultimate performance when cutting-in tasks are at hand. The Clearcut® Elite™ series offers models ranging from two to three inches in multiple brush styles and handle configurations, delivering an option that matches the materials you’ll be using, the surface you’ll be painting and the handle style you prefer.
Reviews are overwhelmingly positive for the results delivered by the ClearCut Elite line, but this PRO is just as pleased with the way the brush works, not just the edge it delivers.
“It partners with my hand and puts the paint where it needs to go,” says the reviewer, who identifies as a full-time, veteran painting contractor. “And it leaves off where it shouldn’t go. It accomplishes this with what feels like 30-50 percent less total physical exertion and hand/wrist fatigue over a day than any other brush. My energy is translated into paint on the wall so much faster, so much cleaner, than with another brush. For the first time ever, it feels like the brush is working with me, not me fighting the brush!”
Better blend with one wall at a time. Many painters get their cutting brush in hand and like to get all the cutting tasks that are in easy reach done in one push. While that’s certainly an efficient way to go about your business, keep in mind that your blend between the wall paint and the cut-in paint is much less likely to produce a lap mark if you do both at around the same time, when paint from each task will be wet.
Steady hand starts with a steady arm. The straightest lines are delivered with a whole-arm approach. In other words, the more wrist and elbow movement you employ, the more likely you are to end up with a less-than-perfect line. Always position yourself to minimize the reach and physical gymnastics you have to perform when perfection is at a premium. The easier you make it to reach the places you’re applying paint, the better your results will be — not to mention, you’ll minimize physical fatigue over the course of the day as well. So move the ladder, and get your head up to near eye level for best results when working the ceiling edge.
Light it up. Some of those corners and trim areas aren’t particularly well-lit, and that can be problematic when you’re straining your eyes to deliver a perfect paint edge. Consider a lightweight Bull Dog headlamp to illuminate your work area and ensure that your work meets your standards. A Bull Dog pocket LED work light is also a hands-free solution that delivers added light. Both products are made by Warner and are available at your Sherwin-Williams store.
To tape… or not to tape. Some painters will only tape the tops of trim pieces that could be affected by light spatter. Others are practiced enough to have confidence in their ability to deliver a clean line without tape. And for some, painter’s tape is a must-have that delivers the assurance of a straight line, and it’s worth every minute of the additional time it requires to apply and remove. In the end, it’s all about personal preference.
Load the brush properly. Here’s another area that will be influenced by personal preference, but accepted practice is to dip the brush end into 1 to 1 ½ inches of paint, then tap the sides of the container to shake off excess. Scraping the brush against the side produces an uneven load on the brush that can be counterproductive to producing a straight edge.

