
Good intentions don’t always yield the best results. And homeowners may not have the know-how or skills required to tackle some of the most basic prepping and painting tasks. When all else fails and a DIY project goes wrong, painting pros are called in to save the day. In this article, we’ve outlined three common DIY mistakes painting professionals encounter with solutions for how to fix them.
1. Tape is removed improperly and the surface is damaged
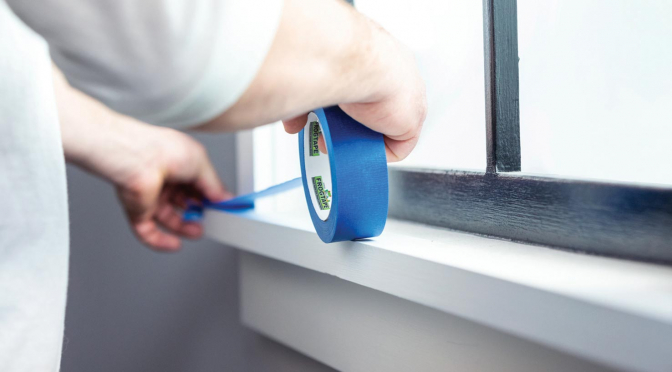
As pros know, there are different kinds of painter’s tapes for different types of applications, and each has varying removal times. FrogTape® Painter’s Tapes are the perfect clean-line solutions for both DIYers and production paint projects.
However, it is crucial to remember to read the label and instructions carefully. In addition, the label provides valuable insight for what surfaces the tape adheres to best and how long it can be left in place. For example, FrogTape® Pro Grade Orange™ Painter’s Tape offers high adhesion that sticks to a variety of surfaces but should not be used on delicate surfaces or left in place longer than three days. For taping freshly painted surfaces, coated wallpaper or decorative projects, painters should use FrogTape® Delicate Surface Painter’s Tape, which features light adhesion and removes cleanly for up to 60 days. Making sure the surface is clean and dry before applying tape is also important to ensure removal will go smoothly.
If they overlook the label, DIYers sometimes leave tape on too long or apply it to an inappropriate surface, resulting in damage. And some are so eager to see the completed project that they apply tape too early to surfaces in which the paint hasn’t fully cured. Damage also occurs when the painter’s tape is removed improperly. It must be removed slowly and at a 45-degree angle. When the mistake goes beyond simply touching up or repainting a small section, overzealous DIYers need a pro to step in and expertly patch drywall or make ceiling repairs and then repaint.
Solution: For smaller dings, dents and imperfections, a coat or two of quick-application wall patch and sanding will do the trick. If the surface damage involves larger dents, cracks or holes, be sure to use a mesh tape to cover the damage and prevent it from reappearing. Then use three coats of quick-application patch with sanding in between to ensure a smooth finish.
2. The wrong type of painter’s tape was applied and paint bleed occurred
DIYers may select a masking tape instead of a painter’s tape. As professionals know, masking tape is more susceptible to paint bleed due to the tape’s paper backing. Typically made from a rough crepe paper, masking tape has more ridges that allow the paint to bleed under the tape. If stretched too far, the paper backing will retract from the surface, lessening the adhesive bond and allowing paint to seep under the tape. Or DIYers may not remember to or know how to burnish the tape’s edges during application, preventing the tape from adhering to the surface properly. No matter how it happens, if there is a lot of trim that has been compromised by paint bleed, a professional will need to re-tape and repaint.
Solution: When addressing paint bleed and imperfect lines, choose a professional grade painter’s tape with an edge treatment to ensure the new lines will be clean, sharp, and free of paint bleed, such as FrogTape® Pro Grade Painter’s Tape. FrogTape Pro Grade features a premium adhesive PaintBlock® Technology, a highly absorbent polymer that reacts with water in latex paint and gels to form a unique micro-barrier that instantly seals the tape’s edges. Using pro grade painter’s tape yields high-quality results and removes the need for time-consuming touch-ups after the job is complete.
3. Adhesive residue remains on the surface after the tape has been removed
If tape is left on a surface longer than its recommended clean removal period, it can leave behind a sticky, messy residue. Usually a sponge, soap and water will do the trick to remove residue. Or if it’s a sealed, solid surface, a citrus-based cleanser, or oil or petroleum-based products — such as WD40 and Murphy® oil soap — should work on any tough-to-remove rubber-based adhesive. It is crucial to remember to always test a remover on a non-visible area before using it on a surface to make sure it doesn’t damage the finish.
But sometimes as a DIYer attempts to remove the adhesive they end up damaging the fresh coat of paint — or even worse — denting the drywall in the process. In addition, the homeowner may be left with ghosting of the tape on the wall, which they are unable to remove. In these situations, they will need to call a pro to repair the wall and repaint.
Solution: Clean the surface to be sure the adhesive residue is removed completely. If the trim or drywall was damaged, repair the surface as needed and repaint. If tape ghosting has occurred, a coat of primer will be needed before applying a fresh coat of paint.
Bottom line
With these simple tips, professionals can easily step in to fix common DIY missteps. And with the proper professional grade painter’s tapes in their toolbox, pros can save valuable time while still achieving sharp paint lines.
This article was written by Patti LaPorte, director, paint and masking tapes, for Shurtape Technologies, LLC, makers of FrogTape products. Get more expert advice about paint products and application techniques in the PPC magazine archive.