Our PPC Ask Your ProPartner™ columnist guides you through the essential steps for consistent, professional results when painting trim.
Prep
Use a damp sponge to clean dirt and grime from trim. If needed, use the rough side of a sponge to ensure a clean starting surface.
Sand the surface and then use a damp sponge to wipe away any dust.
Fill in holes, dents, cracks and other imperfections with a quality flexible wood filler, putty or spackling compound.
When the patch is completely dry, lightly sand the patched areas to smooth out the surface.
If the trim is new or already smooth, lightly sand using 120-grit sandpaper until all shine disappears from the trim.
If the trim is rough and worn, start by sanding with coarse, 80-grit sandpaper. Then, move to less-coarse sandpaper such as 100- or 120-grit to smooth the surface. Use tack cloth to remove any sanding dust from the trim.
PRO TIP: Don’t forget to caulk around the trim framework. This makes your trim and wall finishes stand out even more. Plus, caulking has the added benefit of keeping unwanted cold air from sneaking into the room.
Tape
If you choose to use painter’s tape on your job, follow these steps to ensure good results.
First, dust off walls and ceiling around the trim to ensure the painter’s tape adheres well.
Apply tape to walls and ceilings surrounding the trim, being careful not to stick the tape to the trim itself. To prevent paint from bleeding through the tape, try to use one long piece of tape instead of multiple shorter pieces.
After you have applied the tape, press the tape’s edges with a clean spackling or putty knife to ensure adhesion, as this helps prevent the paint from bleeding through the edges.
PRO TIP: Select three to four inches of tape and firmly press it to the wall. While holding this “starting spot” in place, pull out six inches of tape, then firmly secure it to the wall. Repeat until the tape is secured for the length of the trim.
Prime
If needed, apply a quality bonding primer to trim (Extreme Bond Primer is a good choice), covering any bare wood and spackled areas. Allow the primer to dry for 24 hours.
After the drying period, if bare wood or spackle is showing, apply another coat of primer to the trim.
After the primer dries, lightly sand the trim using 120-grit sandpaper to eliminate brush strokes or paint drips.
Use a damp sponge or tack cloth to remove all sanding dust.
Paint
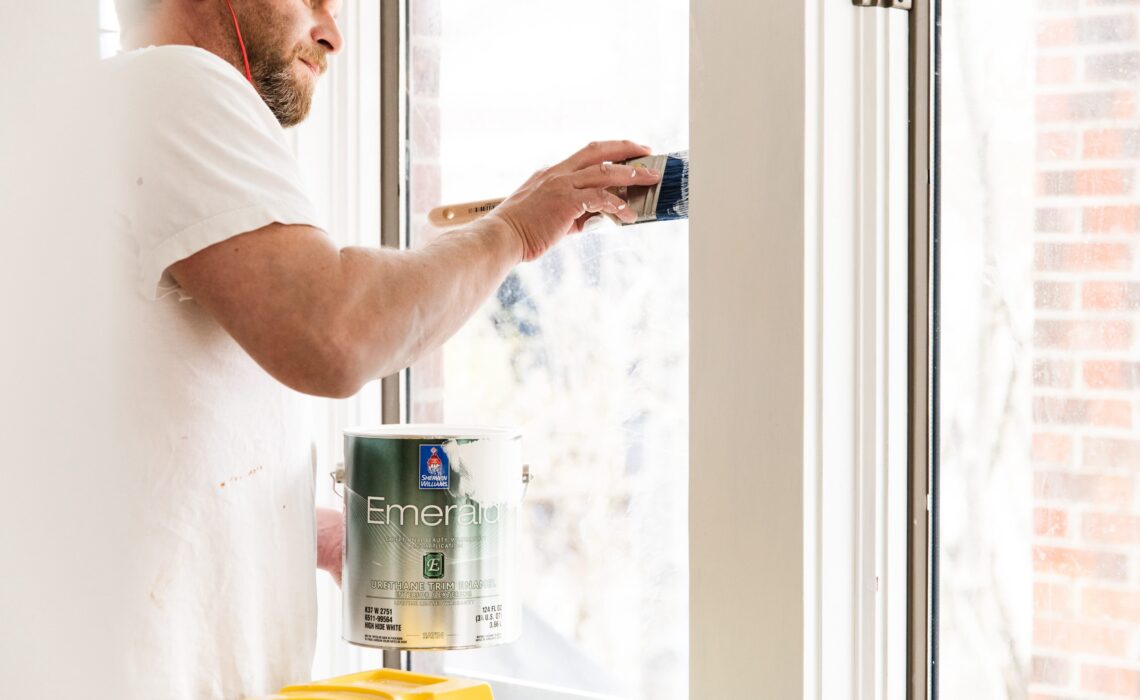
For ease of application and clean-up, use a latex finish. Our go-to is Emerald® Urethane Trim Enamel. It delivers the look, feel and durability of an oil-based enamel with the convenience of a water-based formula. It resists wear and tear over time, provides excellent blocking and scratch resistance and dries quickly for a fast recoat. Emerald Urethane Trim Enamel is ideal for windows, doors, trim and cabinets – a frequently cleaned area of the kitchen.
Speaking of kitchen cabinets, another excellent paint choice for a professional-grade finish is Gallery Series™ Waterborne Topcoat.
Designed specifically for professional spray application, it flows and levels to a smooth finish and can be sanded or recoated in as little as 30 to 45 minutes. That means you can recoat up to eight times faster than traditional architectural cabinet and trim coatings (based on recoat times as stated in applicable Sherwin-Williams Product Data Sheets.)
With superior moisture and chemical resistance as well as excellent blocking resistance, this self-sealing finish meets or exceeds Kitchen Cabinet Manufacturers Association (KCMA) requirements.
PRO TIP: Using the right applicator is key to achieving professional-looking results. For Emerald Urethane Trim Enamel, we recommend using the Purdy® Syntox™ brush and the Purdy® White Dove™ roller cover.
©2025 Fusable. Dennis Fiorilli is the Director of Product Excellence at Sherwin-Williams and PPC/Pintor Pro’s Ask Your ProPartner™ columnist. Photo/video courtesy Sherwin-Williams.


