
Answers to paint pros’ most pressing questions by Rick Watson, Ask Your ProPartner™ columnist for PPC magazine. Our topic this time: the importance of surface prep and priming.
Why is it that paint preparation is more important than the actual painting? How can I be sure the surface is adequately prepared?
This is one of the topics I always start out with when I’m interviewing or specifying or just generally talking about a project.
The first step is to make sure the area you are painting is clean, dry, dull and sound.* I recommend that the surface be thoroughly cleaned with a good cleaner/degreaser to remove the grease and oils, dirt, grime or contaminants that might build up over time. Do this before sanding. If you sand before you clean, you might push that contaminant deeper into the pore of the surface. That can cause poor adhesion and peeling down the road.
Once the surface is clean, you can always paint out a test sample to make sure the prep was done correctly and that you have sufficient adhesion.
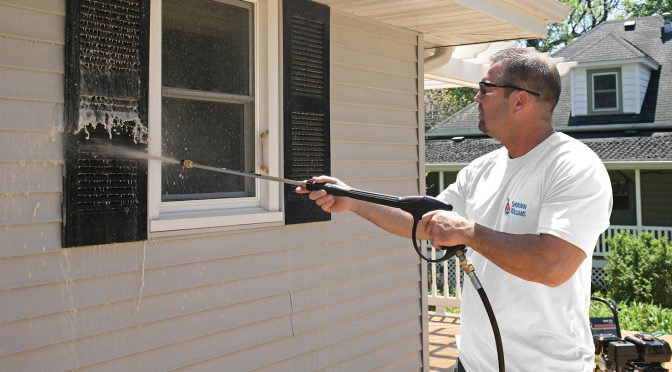
How long do I need to wait to paint a house exterior after pressure washing?
Depending on the substrate and weather, you may need to allow 48 hours of drying before priming or topcoating. Lower temperatures, high humidity and porous surfaces may need longer to dry out before painting. If it has rained, or the humidity remains high (such as 90 percent), you may need to wait longer.
A lot of exterior materials and interior millwork come pre-primed. Can you put a topcoat directly on pre-primed material or should you prime it again? Does it matter how long the factory primer has been exposed to the weather?
Again, prep is key! The first step is to make sure the area you are painting is clean, dry, dull and sound.
Then you’ll want to determine how long the exterior primer has been exposed to the weather. Most exterior primers are created to be topcoated in a shorter period of time than interior primers. Usually it’s around 14 days for an exterior primer.
So, if the primer has been exposed uncovered and unfinished for weeks or months, it might have started breaking down. Cleaning and re-priming may then be in order.
Another tip would be to do a cross- hatch adhesion test to make sure the existing primer is adhering well. If you experience poor adhesion of the pre-prime, I recommend removing the existing primer and starting fresh.
With interior primers, you have a lot more leeway. Since exterior exposure is not breaking the pre-primer down, you can often get by with just making sure the surface is clean, dry, dull and sound before painting. Unless you experience poor adhesion of the existing primer or topcoat, re-priming probably won’t be needed.
Finally, sometimes pre-primers are not always compatible with the topcoat you choose. Specialty type primers and bonding type primers may be needed.
If you have any questions, check with your local Sherwin-Williams rep for expert advice on what products will work best on your project.
Surface prep safety warning
*Warning! Removal of old paint by sanding, scraping or other means may generate dust or fumes that contain lead. Exposure to lead dust or fumes may cause brain damage or other adverse health effects, especially in children or pregnant women. Controlling exposure to lead or other hazardous substances requires the use of proper protective equipment, such as a properly fitted respirator (NIOSH approved) and proper containment and cleanup. For more information, call the National Lead Information Center at 1-800-424-LEAD (in US) or contact your local health authority.
Rick Watson, director of Product Information and Technical Services at Sherwin-Williams, answers pro questions in the Ask Your ProPartner™ column in PPC magazine.