
Nicks, cracks and nail holes need to be repaired before your crews start painting. Here’s a quick checklist from the surface prep experts at 3M:
- Choose a spackling product that doesn’t shrink or crack.
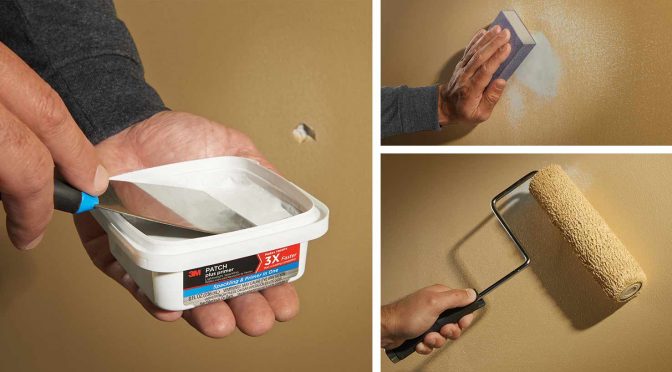
- Using the end of your putty knife, scoop out about twice the spackling you think you’ll need.
- Press the spackling compound into the imperfection with the putty knife.
- Scrape the putty knife across the imperfection at a 45-degree angle. Don’t go past the edges of the damaged spot any further than you need to.
- Drag the putty knife across the spot several times in different directions to make sure the spackling adheres to all sides of the imperfection. Make sure you have solid, even pressure on the putty knife.
- Let the repair dry completely.
- Lightly sand the area with a higher grit abrasive to smooth and flatten the repair.
- Check the repair to make sure you’re happy with the result. If you aren’t, apply a skim coat, let dry and re-sand.
- Once you get a smooth result, you can prime the wall and then paint it. To make life a little easier, check out some of the patching compounds that have the primer built right in. That can save a lot of time, particularly if you’re cleaning up walls full of nail holes.
This article was originally published in the Spring 2018 issue of PPC magazine. It was developed in collaboration with the technical services team in 3M’s Construction & Home Improvement Markets Division. For more information, contact Michelle Rookey, Technical Service Manager, at mjrookey@mmm.com.